Are you looking for the perfect way to take a screenshot on a mac pc or laptop? Then here I cover a complete guide on all methods.
There are a few ways you can take a screenshot on the mac and in this article, I cover all available ways you can use it.
Depending on how you want a screenshot like you want to capture an entire window or you want to capture a selected part on your screen, all options are available.
Now let’s see the most common way to take a screenshot on your mac.
How To Screenshot on Mac? [With Menu]
Taking a screenshot is really easy but you have to know a few things to improve your screenshot-taking techniques.
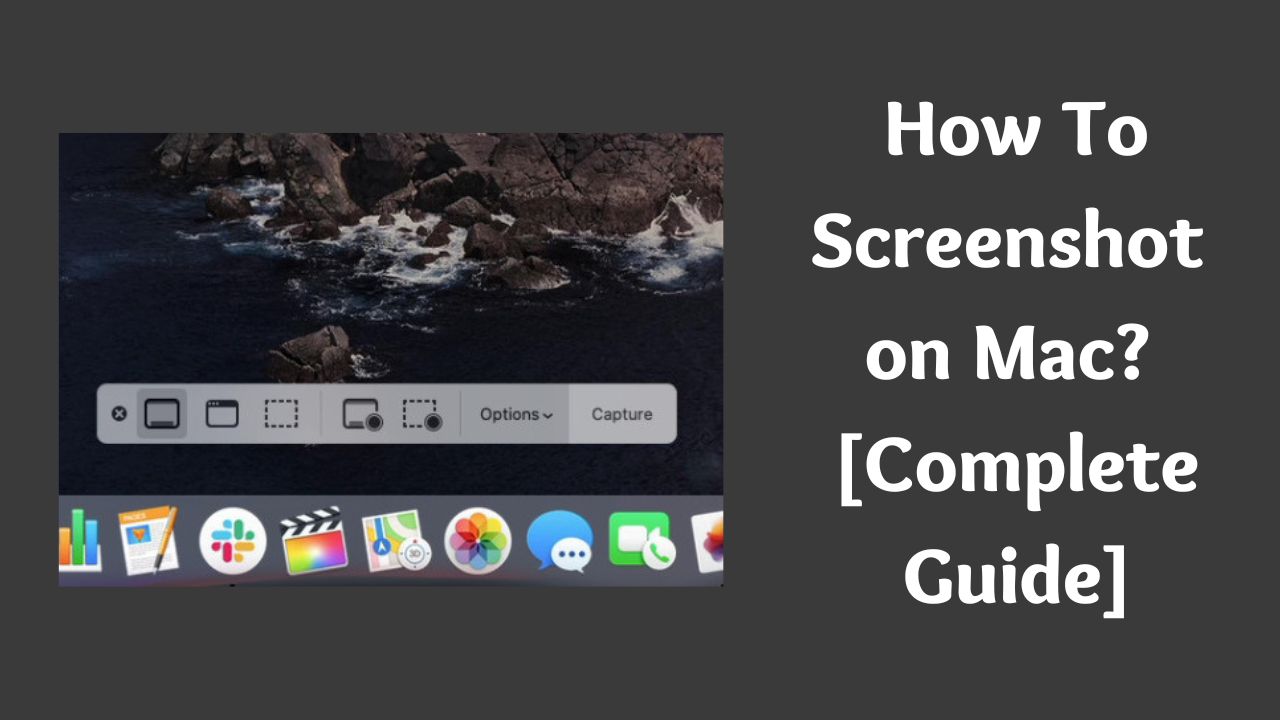
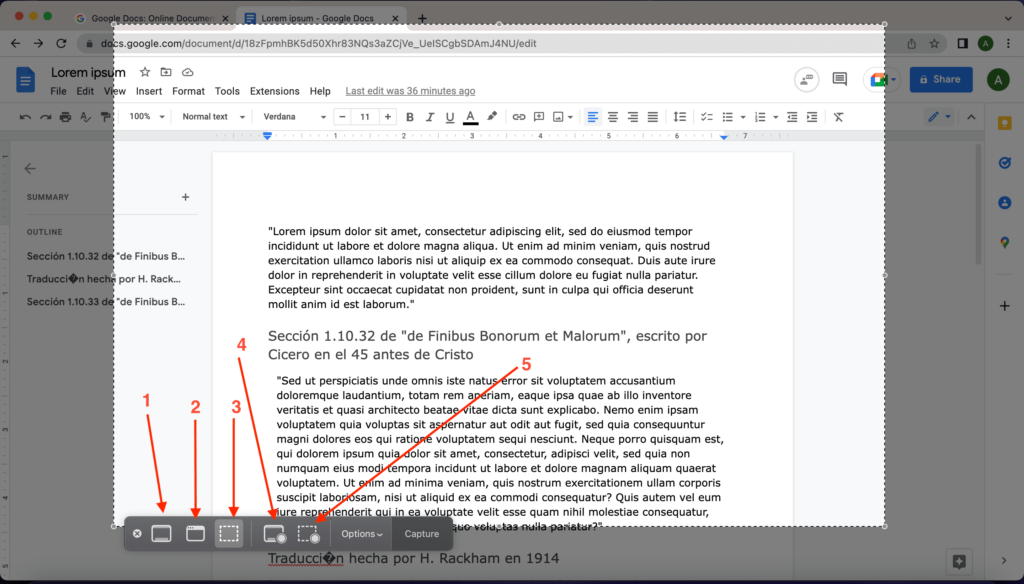
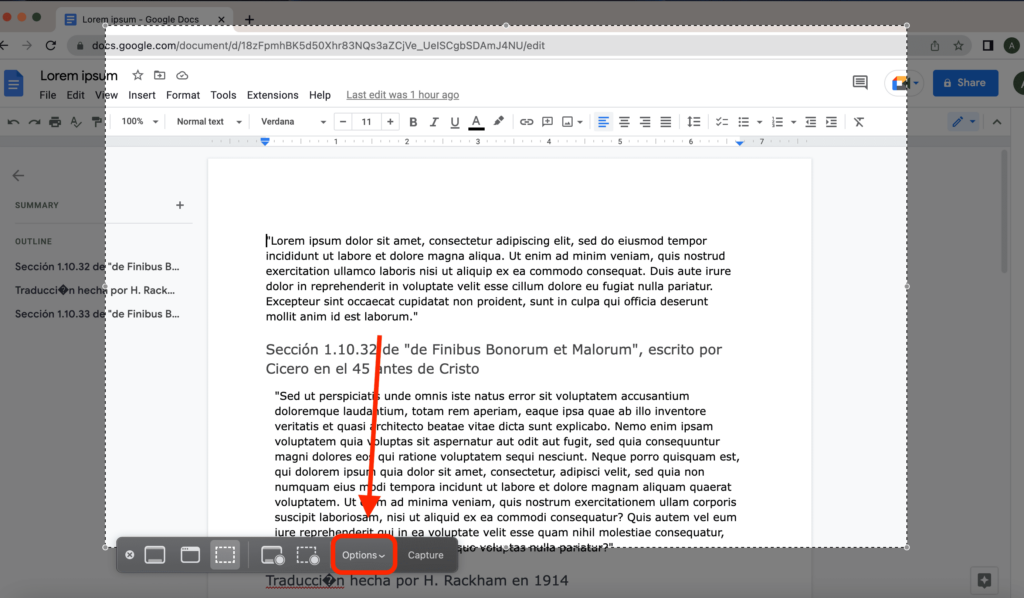
First, open the windows or screen you want a screenshot of. Press Shift + Command + 5 together. It will open the screenshot window with all the available options. There are a total of 5 options available and their uses of them are as below.
- The first option will capture the entire screen you will select and save it as a screenshot on your desktop.
- The second option will capture the app’s windows you select which will not include the mac top bar and dock.
- In the third option, you can select the portion of the screen, capture it and save it as a screenshot.
- The fourth option is available to record the entire screen. With this option, you can record the whole screen and save it as a video.
- And the fifth option is also for recording but it will only record the selected portion of the screen you will select.
So this is the most common way to screenshot on your mac. And I cover the uses of all the available options in the screenshot window.
How To Screenshot With Selection on Mac?
Now if you want to have a quick screenshot of the selected portion of the screen then it can be possible. You can follow the first method but here is the quick way to do it.
- First press Command + Shift + 4 altogether on your mac.
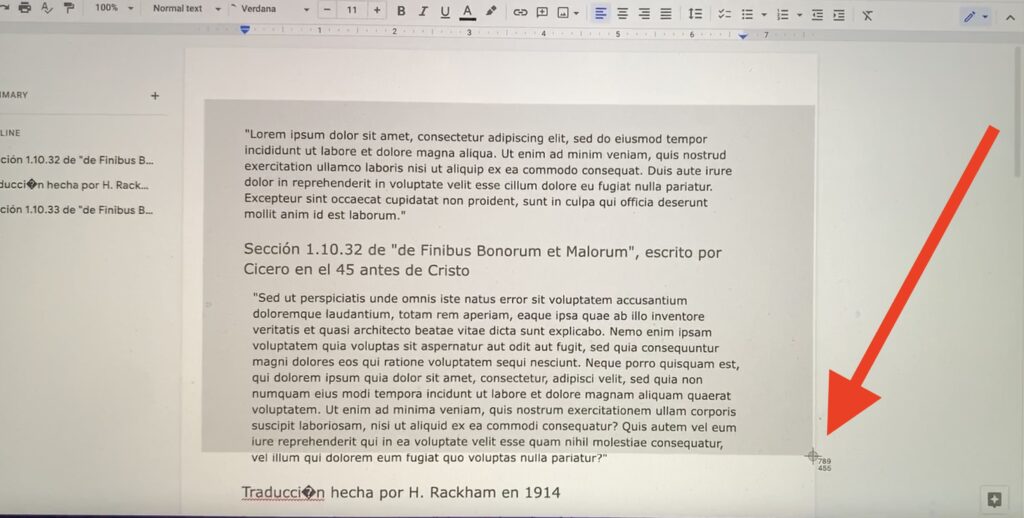
- It will convert your mouse to a kind of plus sign with height and width details. Select the screen you want to screenshot off, and release your click.
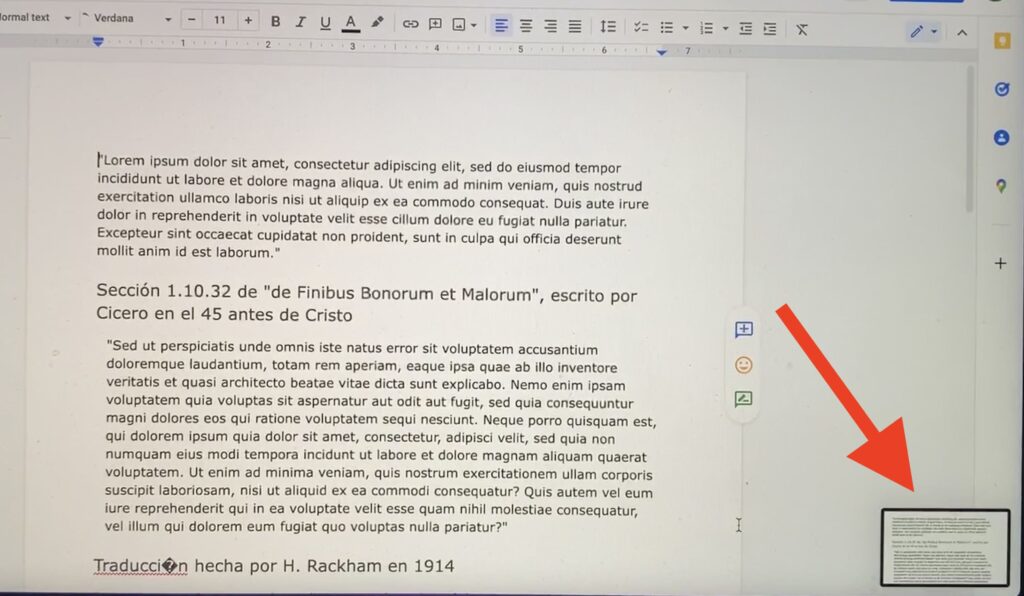
- It will capture the screenshot directly without pressing any other button or doing any extra clicks.
So this is how you can capture selected portions in a quick way and save them as a screenshot on your mac.
How to Take Screenshot of the Whole Screen?
Now if you want to take a screenshot of the whole screen on mac there is a shortcut available for that.
- Press Command + Shift + 3 altogether and it will take a screenshot of your whole screen and save it on your desktop.

You can do it by using the first method but this method is quick if you directly want to capture the whole screen and save it as a screenshot.
Change Screenshot Path on Mac
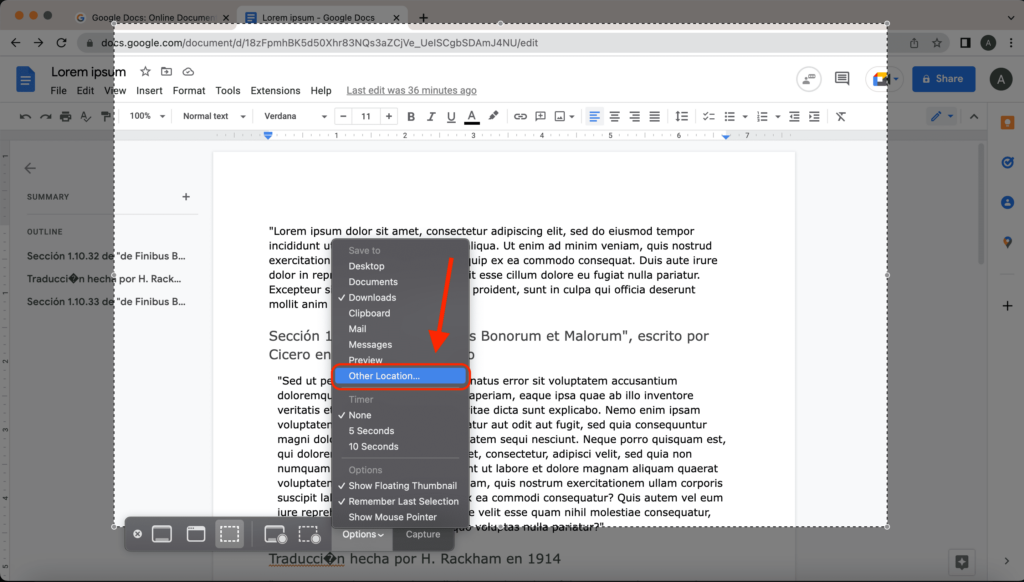
When you take a screenshot on mac by default it will save in the Desktop folder. But you can easily change it by following the below process.
- Open the window or screen you want to capture. Press Command + Shift + 5 altogether.
- Now click on the options button available there. It is available in all three ways to take a screenshot on mac.
- Under save, there are a few quick locations available you can choose from the other location.
- Now select the folder you want to save all your screenshots. This will be the same location for all your future screenshots. And you can change it later also.
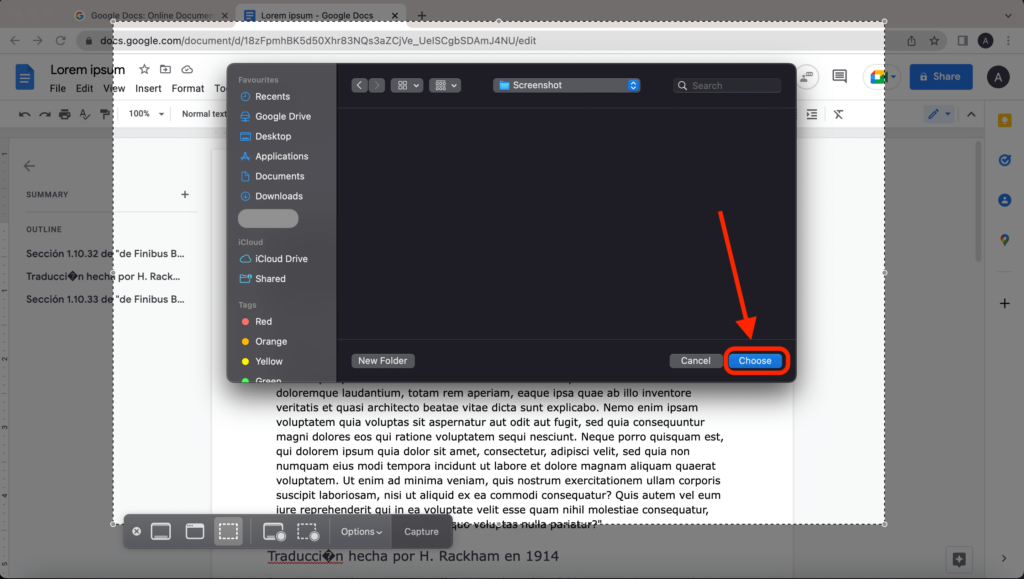
So this is how you can change the path or folder of the screenshot on your mac. And it will change for all methods you use to take a screenshot, all new screenshots going to save in the new path you choose no matter which shortcut you use.
Conclusion
Here I share how to screenshot on a Mac with all available methods. And also cover how you can change the default screenshot path on your mac. Now if you still have any questions you can ask me in the comment.